Tags: Object Link Tag
The purpose of the Object Link tag, as its name implies, is to allow you to attach another object to the object being generated by a Generator.
For the buttons at the bottom of the interface, please see the 'Common interface elements' page.
Important: for this tag to be used, the Generator setting 'Use multiple child objects' MUST be set to 'First Child Only'. The tag will have no effect with any other setting. Note that adding an Object Link tag to a Generator object will automatically set the correct setting in the Generator.
Settings
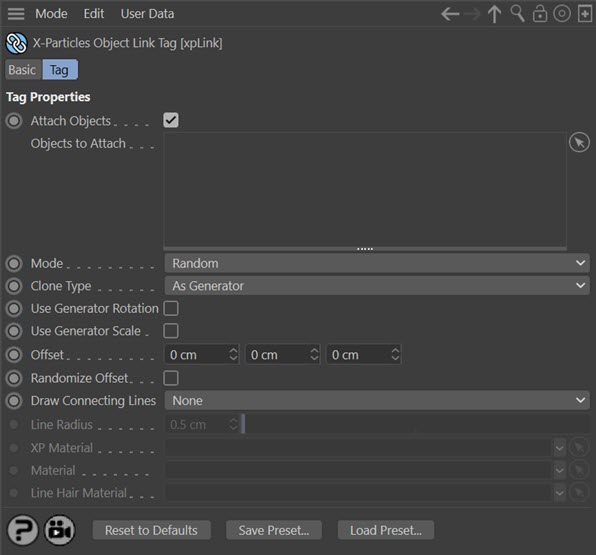
Attach Objects
If this switch is unchecked, the objects to be attached will not be generated.
Objects to attach
Drag the object(s) you want to attach into this list. Which object is generated depends on the 'Mode' setting.
Note 1: the object must be a spline or a polygon object. Generator objects such as the various C4D generator objects, some primitives, cloners, etc. cannot be used. Convert these to polygon objects first.
Note 2: the originals of the objects to be attached will be visible in the scene. You may need to move them well out of camera view to prevent them being rendered. Alternatively, add the object to be attached as a child object of the Generator. Since the Generator when using this tag must be set to generate the first child only, the original of the object to be attached will not be visible.
Mode
This drop-down menu has two settings:
- Random: an object to attach will be selected randomly from the list.
- Sequential: the first object in the list will be generated first, then the second, and so on until all objects have been generated. The sequence will then start again with the first object.
Clone Type
This drop-down lets you choose how the clones of the linked object are generated. 'Duplicate' generates full copies, as if you duplicated the object in the object manager. 'Instances' generates Cinema 4D instances, while 'Render Instances' generates, well, render instances. Details of instances and render instances can be found in the Cinema 4D documentation.
The default setting is 'As Generator' which will then use the same setting as in the Generator object to which the tag is attached.
Note that there is a small issue if you select render instances. In this case the source object which will be cloned will remain visible in the scene and will be rendered. This is due to internal workings of Cinema 4D. A simple workaround is to position the source object off screen in such a position that it will never appear in the rendered image.
Use Generator Rotation
If checked, this will cause the attached object to be rotated according to the 'Rotation' setting in the Generator.
Use Generator Scale
If checked, this will cause the attached object to be scaled according to the 'Scale' setting in the Generator.
Offset
By default the offset is set to zero, which will generate the attached object at the same position as the object from the Generator. To offset the position, change the values in this field. You can add an offset along any of the three axes.
Randomise Offset
If this switch is checked, the offset value are randomised. The maximum offset will be the same as in the 'Offset' field; the minimum offset will be the 'Offset' field value multiplied by -1 (i.e. if the X value in the 'Offset' field is 50, then when 'Randomise offset' is checked the actual value can range from -50 to 50).
Draw Connecting Lines
The tag can draw connecting lines between the object from the Generator and the attached object. There are five options in this drop-down menu:
None
No connecting lines will be produced
Use XP Material
The lines will be rendered using an XP Material. Drop such a material into the 'XP Material' link field.
Use Sweep Object
A Sweep object will be generated automatically. You can set the radius of the line in the 'Line radius' setting.
Use Hair Material
This will render the lines with the Hair renderer (if your version of Cinema supports that). To use it, you must also drag a hair material into the 'Line hair material' field.
Use Sketch & Toon
If your version of Cinema supports Sketch & Toon, you can render the lines using this option. Note that setting up S&T must be done manually: in the render settings, add the Sketch & Toon effect, and ensure that 'Splines' are checked in the 'Lines' tab.
Line Radius
Only used when 'Draw Connecting Lines' is set to 'Use Sweep Object'. The radius of the resulting line can be set here.
XP Material
Only used when 'Draw Connecting Lines' is set to 'Use XP Material'. Drag the material to be used by the line into this field.
Material
Only used when 'Draw Connecting Lines' is set to 'Use Sweep Object'. Drag the material to be used by the line into this field.
Line Hair Material
Only used when 'Draw Connecting Lines' is set to 'Use Hair Material'. Drag the Hair material to be used by the line into this field.