The X-Particles Particle Sample Shader
This shader can be used in any material channel which has a shader link.
For every point to be shaded on an object surface, the shader looks at a chosen parameter of all particles which are within a specified distance. The parameter might be the particle speed, age, temperature, etc. In its default mode, from those particles the shader calculates an average value used as an index into a gradient; the colour returned from the gradient is then used to shade the surface point.
An example may make this clearer. Suppose the parameter sampled is the speed and that for a given surface point there are five particles within range of the point. Also suppose that the average speed of these five particles is 100 units, and that the minimum and maximum values set by the user for this parameter are zero and 150 units respectively. The colour returned from the gradient is the colour two-thirds of the way along the gradient (because the average speed of 100 is two-thirds of 150).
Interface
The shader's interface looks like this:
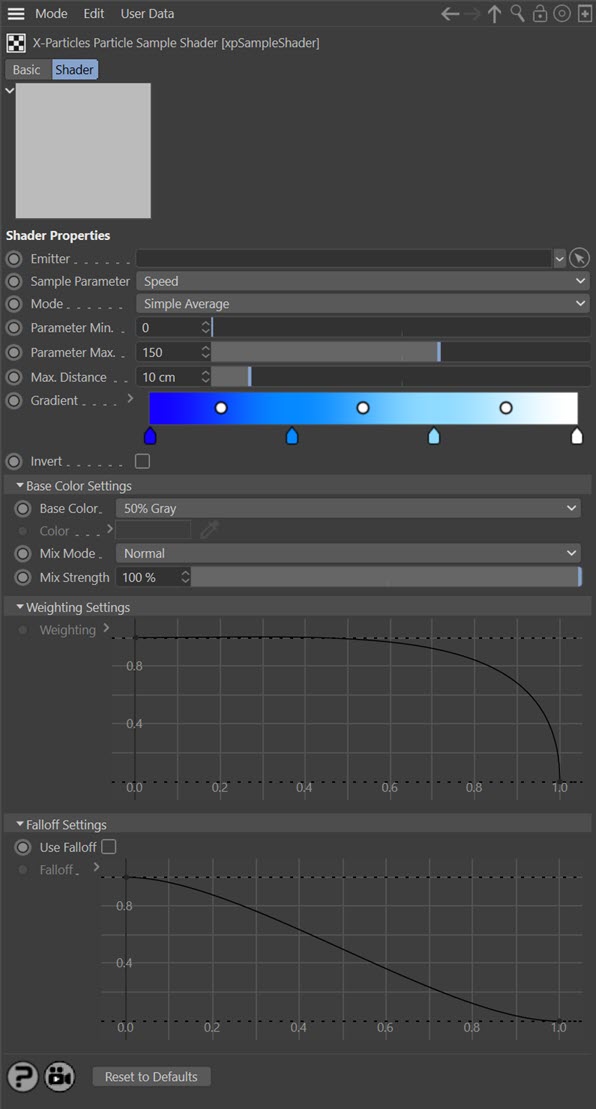
Parameters
Emitter
A link field for the emitter to be sampled.
Sample Parameter
This is the particle data that will be sampled; the default is the particle speed. You can choose from a variety of parameters, including custom data if required. If you choose 'Custom Data' you will see additional settings as shown here:
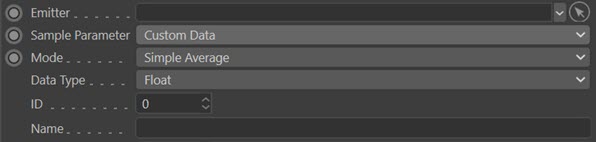
Data Type
Only custom data which are integers, floating point numbers or time values can be used here. Other types are not supported.
ID, Name
The ID and name of the custom data, used to identify the custom data item. See the custom data page in the emitter for more details.
Mode
This drop-down menu determines how the index into the gradient is calculated. What difference you see between these options depends to a great extent on how many particles affect the point to be shaded (which in turn is affected by the 'Max. Distance' setting). In some cases you may see little or no difference between these options.
The options are:
Simple Average
A simple mean value of the parameter from all the particles within range is used.
Weighted Average
With this option more weight is given to particles nearer the shaded point. The weighting is controlled by the 'Weighting' spline control (see below). Note that by altering this spline you can give more weight to more distant particles instead of the closer ones.
Nearest Particle
The parameter of the nearest particle to the shaded point is used. No other particles are taken into consideration.
Parameter Min., Parameter Max.
These are the minimum and maximum settings for the selected sample parameter. If the parameter value is less than the minimum value, the colour at the left-hand edge of the gradient is returned; if it is greater than the maximum value the colour at the right-hand edge of the gradient is returned.
Max. Distance
Any particle further away than this distance from the shaded point will not be included in calculation of the colour for that point.
Base Color
This is the colour the shader will return if no particles are within range of the shaded point. The options are:
- Black
- White
- 50% Gray
- Custom
Which one you use is a matter of preference but '50% Gray' is the default choice for the following reason.
Suppose you have an object on which you have a shader or bitmap and you would like to use the Particle Sample Shader to overlay the existing texture with the sample colour. To do this, set up a Layer shader with this structure:
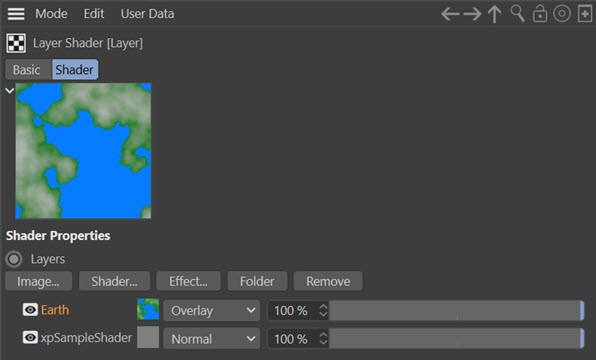
Here, there is an Earth shader with the sample shader beneath it. Note that the Earth shader is set to 'Overlay'. In the sample shader, 'Base Color' is set to '50% Gray'. With these settings the colour from the sample shader is overlaid on the Earth shader without any of the base color (gray) being visible.
Color
A colour field which is only available if 'Base Color' is set to 'Custom'.
Mix Mode
This controls how the colour from the gradient is blended with the base colour. The usual choices are available, such as Add, Difference, Multiply, etc.
Mix Strength
This controls the ratio in which the gradient and base colours are mixed.
Weighting
This spline controls the weight given to particles at different distances from the shaded point. It is only available if 'Mode' is set to 'Weighted Average'.
Use Falloff
If this switch is checked, the 'Falloff' spline becomes available. This lets you produce soft edges to the rendered circle rather than hard edges.
The difference can be seen here:
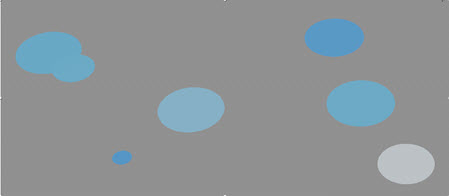
Use Falloff unchecked
Use Falloff checked
Falloff
This spline controls the falloff of the rendered circle.