Tags: Fluid FX Collider Tag
This tag is used as part of the Fluid FX component of X-Particles. It is the equivalent of the standard collider tag used for particle to object collisions.
 This tag is no longer required and you should use the standard Collider tag instead. It is kept in for compatibility with older scenes and the following descriptions only apply to older scenes still using this tag.
However, the collision system is quite different from the standard collider tag. Instead of an iteration between the particles and the object's geometry, this system depends on particle to particle collisions. To do this a number of 'collision particles' are automatically generated on the surface of the object. The more such particles there are, the more accurate the collisions are. You can see these collision particles by checking the switch 'Show Particles'
Interface
The tag's interface looks like this:
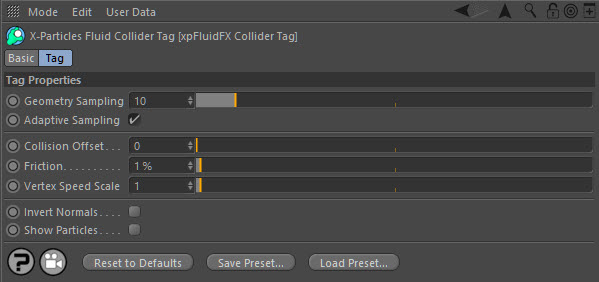
For the buttons at the bottom of the interface, please see the 'Common interface elements' page.
Parameters
Geometry Sampling
This parameter controls the level of sampling of the surface of a collision object. The lower the value, the smaller the distance between sample points and more collision particles are generated. Compare these two screenshots; the one on the left has geometry sampling set to 10, on the right it is set to 5:


The more samples are taken, the more accurate is the simulation, but it can be slower. You can speed up a simulation by increasing this value but then you risk particles leaking through the surface.
Adaptive Sampling
If this switch is checked (which it is by default) the number of sampling points on the surface of the object is automatically adapted to the nature of the object. The result is to save memory and speed up the simulation.
However, whether you see these advantages or not depends on the object. If it is animated, you should definitely turn this on. If it is static and low-resolution you will see little or no benefit. For static, high-resolution objects you may see a benefit with very large or very high-resolution meshes.
With 'Show Particles' turned on you can see how adaptive sampling works in this video. It shows the collision particles in blue on the sphere. Note how the number and placement changes as the simulation plays:
You may find it easier to see if the particles from the emitter are not shown:
Collision Offset
This parameter provides an offset from the surface of the geometry. By default it is zero but in some cases this may lead to leaking particles. You can increase it but then the particles will be noticeably offset from the surface, which may not be desirable.
Friction
Increasing this value increases the friction as particles move over the collider object surface.
If this parameter is set to a high value (over 50%) and you find that the particles explode on contact with the collision object, try reducing the 'Geometry Sampling' parameter. This will increase the sampling resolution and will often solve this problem.
Vertex Speed Scale
This is used when the geometry the particles collide with is animated. It is a scale factor for how much the animated geometry affects the fluid particle on collision.
Invert Normals
The actual collisions depend on the orientation of the surface normals. If the normal is pointing away from the possible collision point no collision will occur. This will happen, for example, if you are using an object such as a cube as a container. The particles will then be inside the cube but the cube normals are pointing outwards. You can easily resolve this by checking this switch, which will reverse the surface normals during the simulation.
Show Particles
Shows the collision particles on the object surface. See above for screenshots and video examples.